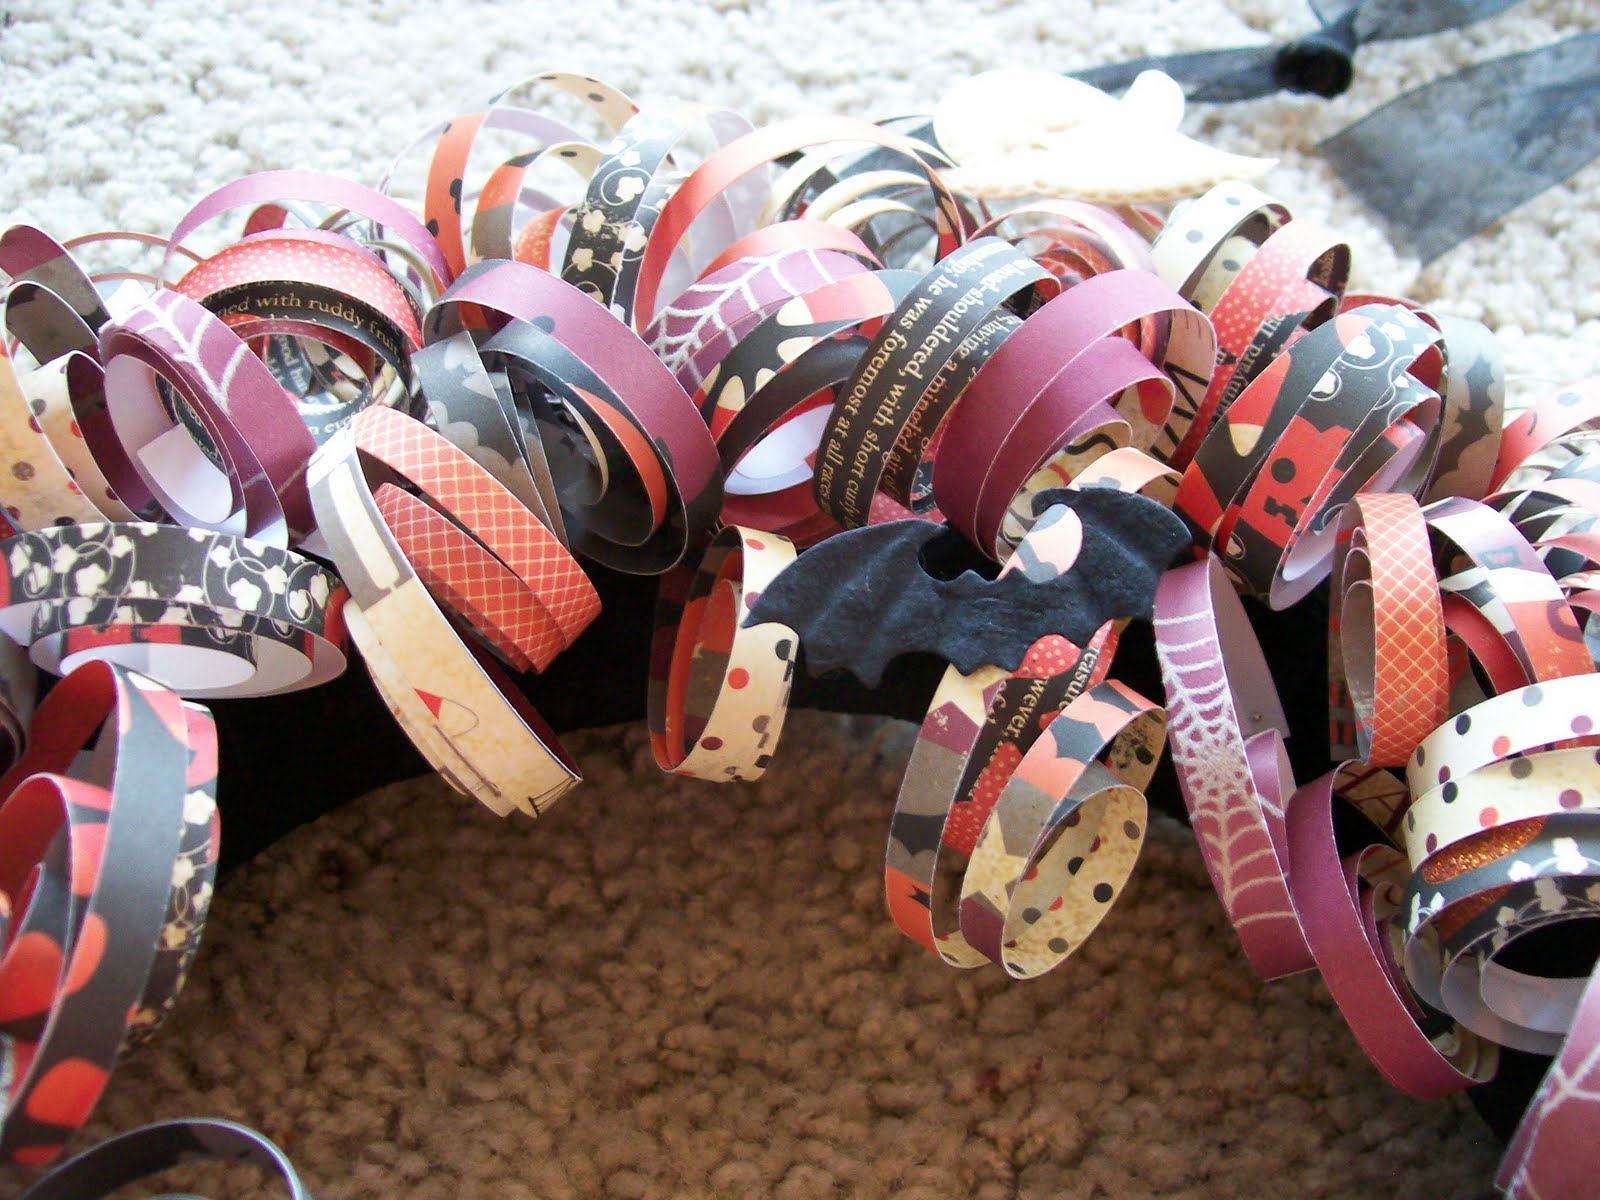
Last year I saw this beautiful Halloween wreath on the
Making Memories blog and I decided that if I still had enough paper left from the Spook Alley collection that I would do something similar this year. I started this project a few weeks ago and worked on the paper rolls bit by bit. I think it turned out great! If you want to know more about how I made it, supplies and instructions are below detail photos.


Supplies needed:
- Various 12x12 papers from the Making Memories Spook Alley collection
- Spook Alley Trims and Treats
- Spook Alley Die Cuts
- 12 inch diameter foam wreath (the sample one was 8")
- One roll of black tulle - 2" wide
- toothpicks for placing ghosts and die cuts on wreath
- Sequin pins for securing paper
- Pencil
- Paper cutter
Wrap tulle around the wreath, overlapping about half of each wrap around to cover the green foam. Secure the end of the ribbon with a sequin pin. Cut off excess and tie around the top of the wreath to hang it up.
Cut paper into 1/4" strips. Wrap each strip, tightly, around a pencil to form a coil. Secure each coil to the wreath, with a sequin pin, in a desired pattern. Continue until wreath front is covered.
Once all the paper coils are secured to the wreath, it is time to add embellishments. Secure a toothpick to the back of the ghosts and die cuts. I used scotch tape to do this. Then place the tooth picks through the coils in a desired location. To secure the bats I used an adhesive dot and stuck them to a paper coil.
Once you have everything where you like it, hang the wreath indoors. I think this would also be nice with Christmas paper and embellishments!