I was inspired by this pin on Pinterest. After clicking through the link and finding out that a 16" wreath would be over $80 after tax, I decided to make one myself. I already had the dark blue yarn and the orange fabric flowers. I just purchased the form and the light blue yarn. After Michaels coupons ~$8. I whipped this up in about two hours while watching the Oscars. I think it will look lovely on my front door!
Showing posts with label wreath. Show all posts
Saturday, March 2, 2013
Sunday, February 24, 2013
Christmas Wreath
Let's pretend that it is still December or even January. I made this fun and fast wreath for my red and white themed Christmas cookie exchange party. I used this bookboard wreath form and these straws from Paper Source. I alternated between full length straws and straws that were cut in half or thirds. I finished it off with a scrap of glitter ribbon I had. My original inspiration was from the Paper Source catalog that had made a similar one.
Sunday, December 12, 2010
Poinsettia Wreath
I saw an idea for a wreath like this in a Holiday Crafts magazine. Their example used an old sweater as the base, I used green ribbon instead. I made a cut file for the poinsettia flowers and cut them out on SCAL at a height of 4, 3, and 2.25 inches. I then overlapped two flowers either of the same size or two of different sizes. I then stuck them on using a pin. I thought the plain red pins were lacking, so I added some red Stickles. Cutting felt on your Cricut is way easier than I feared.
If you'd like me to share the cut file with you or know more about cutting felt on your Cricut, just ask!
Saturday, September 11, 2010
Halloween Wreath


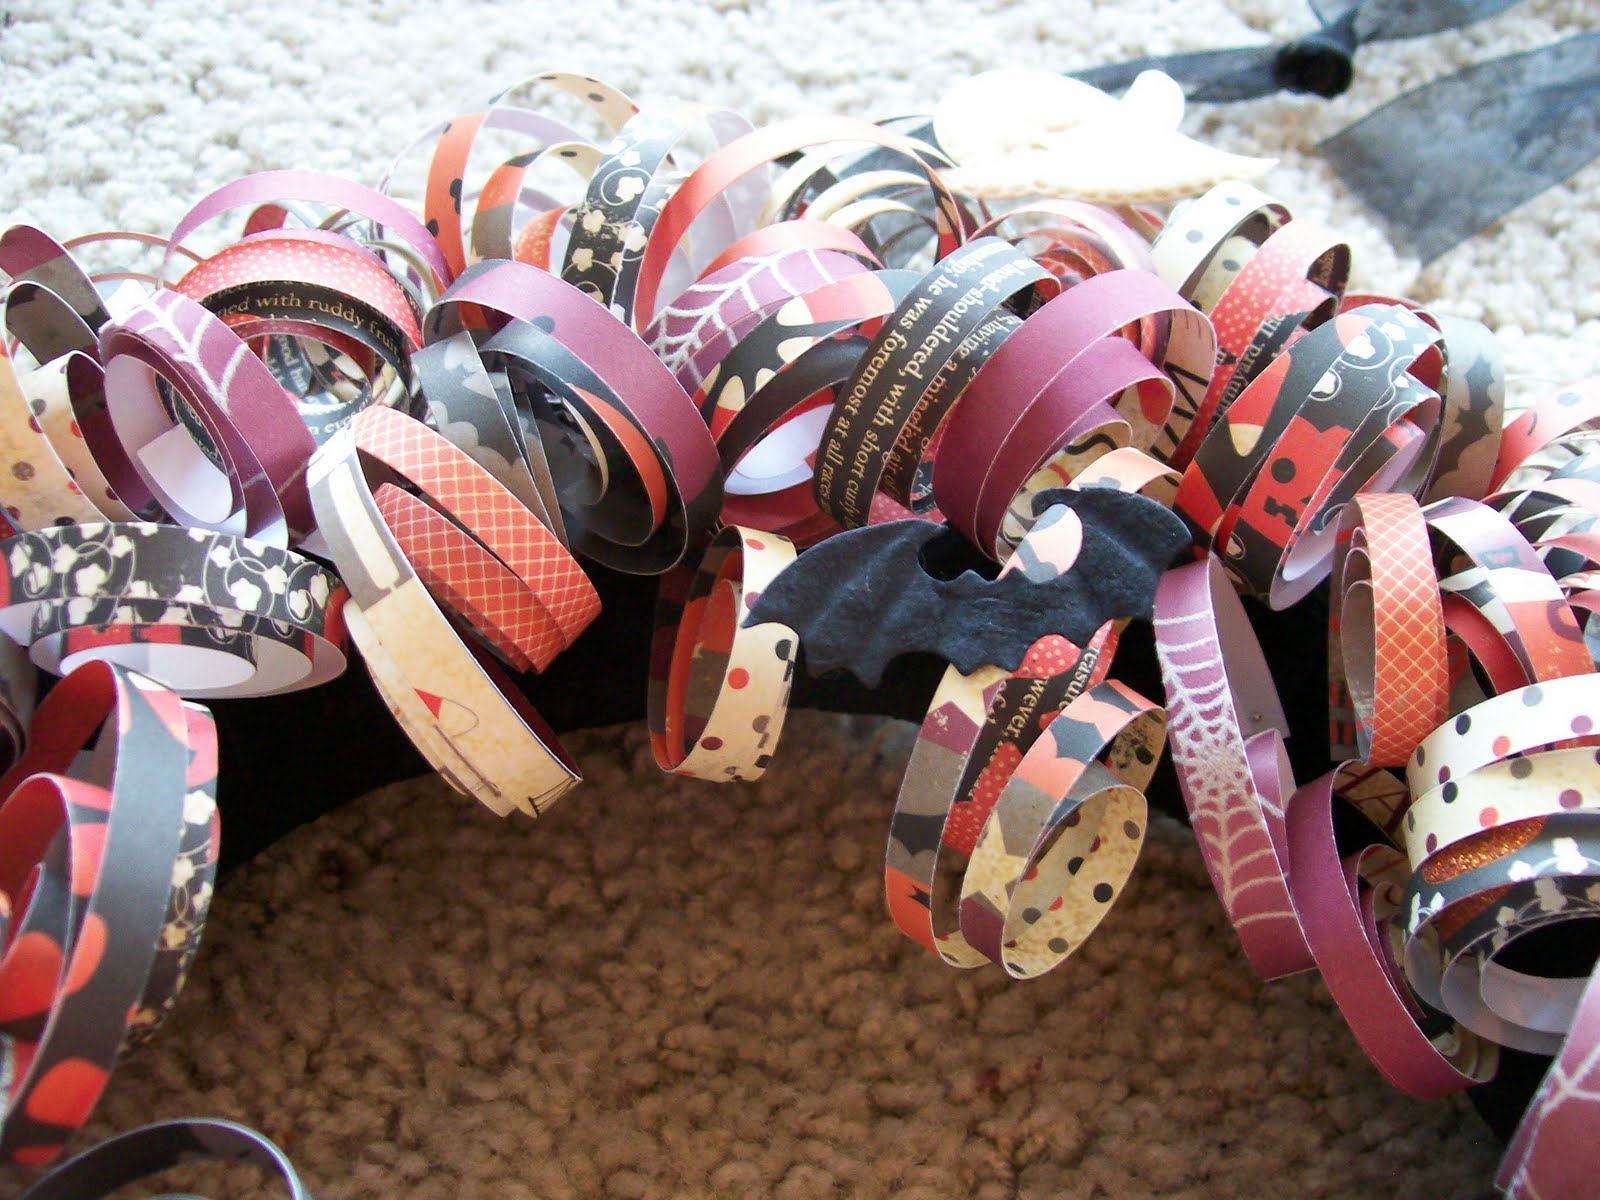
Last year I saw this beautiful Halloween wreath on the Making Memories blog and I decided that if I still had enough paper left from the Spook Alley collection that I would do something similar this year. I started this project a few weeks ago and worked on the paper rolls bit by bit. I think it turned out great! If you want to know more about how I made it, supplies and instructions are below detail photos.


Supplies needed:
- Various 12x12 papers from the Making Memories Spook Alley collection
- Spook Alley Trims and Treats
- Spook Alley Die Cuts
- 12 inch diameter foam wreath (the sample one was 8")
- One roll of black tulle - 2" wide
- toothpicks for placing ghosts and die cuts on wreath
- Sequin pins for securing paper
- Pencil
- Paper cutter
Wrap tulle around the wreath, overlapping about half of each wrap around to cover the green foam. Secure the end of the ribbon with a sequin pin. Cut off excess and tie around the top of the wreath to hang it up.
Cut paper into 1/4" strips. Wrap each strip, tightly, around a pencil to form a coil. Secure each coil to the wreath, with a sequin pin, in a desired pattern. Continue until wreath front is covered.
Once all the paper coils are secured to the wreath, it is time to add embellishments. Secure a toothpick to the back of the ghosts and die cuts. I used scotch tape to do this. Then place the tooth picks through the coils in a desired location. To secure the bats I used an adhesive dot and stuck them to a paper coil.
Once you have everything where you like it, hang the wreath indoors. I think this would also be nice with Christmas paper and embellishments!

Subscribe to:
Posts (Atom)